A dressage whip is not simply an extension of the rider’s arm. When used correctly, it becomes a subtle communication tool that helps the horse step more actively behind, lift through the back and develop better engagement. When used incorrectly, it causes tension, loss of rhythm and confusion.
This guide explains how to use a dressage whip and how to hold a dressage whip to improve engagement in a calm, correct and welfare-focused way. The aim is not to “make” the horse go forward, but to help them understand how to use their body more effectively.
Dressage whips sit within a wider range of riding and schooling whips, each intended for a specific purpose. Understanding how different types of horse whips are used helps clarify why longer dressage whips are used differently from riding crops or jumping bats.
Engagement refers to the horse stepping more actively underneath the body with the hindlegs, carrying more weight behind and freeing the forehand. When engagement improves, the horse becomes lighter in the reins, more supple, better balanced and more able to perform movements such as transitions, lateral work and collected gaits.
A dressage whip can help with this by providing a clear, precise aid that reinforces your leg — without replacing it.
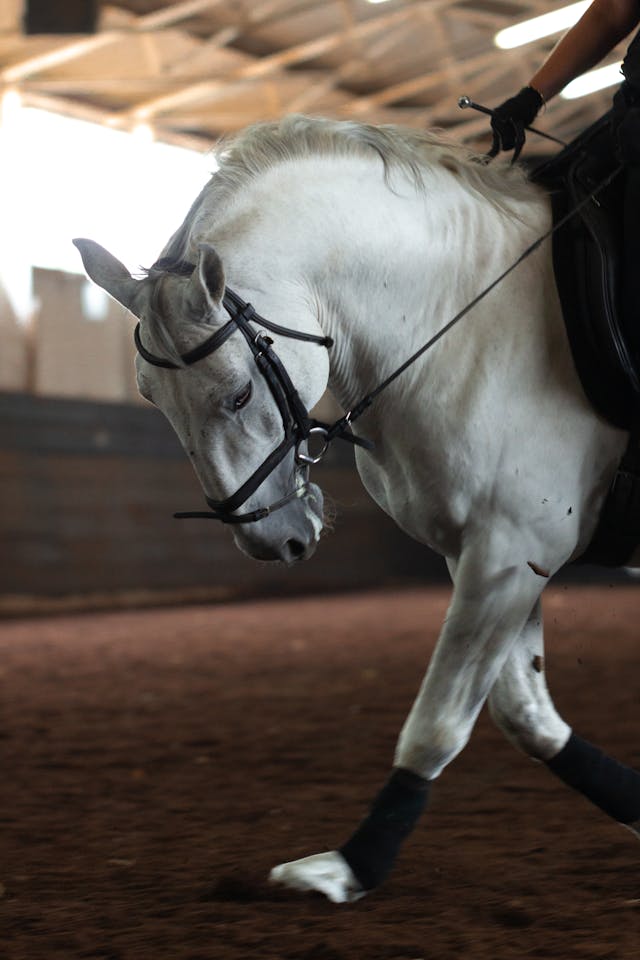
Holding a dressage whip correctly is essential for using it with precision and discretion. When carried properly, the whip should be almost invisible in the rider’s hand and should never interfere with the contact, balance or position.
Which hand should hold the whip?
Traditionally, the whip is carried in the inside hand. This allows the rider to influence the inside hindleg directly and support bend, lateral work and engagement without twisting through the body.
The whip should feel like a natural extension of the forearm, not an object you are actively “holding onto”.
Correct angle and position
The shaft of the whip should sit at a gentle backward angle so that it can reach just behind the rider’s leg without the hand needing to move. If you find yourself lifting your hand, opening your elbow or rotating your wrist to use the whip, the length is wrong or your grip is incorrect.
Keeping the hand quiet
A common mistake is allowing the whip to cause instability in the hand. The rein contact must remain elastic and independent of the whip. If the whip makes your hand bounce, brace or lift, shorten your grip slightly and soften through the wrist.
Changing hands correctly
In lateral work or when schooling both sides evenly, the whip should be switched quietly between hands without dropping the reins or disturbing the horse’s rhythm. This is best done on a straight line, not on a circle or in a movement.
A rider who is holding the whip correctly should be able to apply a light, precise aid without any visible change in posture. If an observer can immediately tell when the whip is being used, the aid is usually too strong or incorrectly applied.
A dressage whip is typically between 90cm and 120cm. The ideal length allows the rider to touch the horse lightly just behind the leg without moving their hands out of position.
Hold the whip:
The whip should be so still that an observer would almost forget you are carrying it.
Length plays a particularly important role in dressage, where longer whips are designed to reinforce the leg aid without disrupting the rider’s position. The current dressage whip length rules explain the maximum permitted lengths under BD and FEI regulations.
A whip aid must always follow a clear sequence:
This creates a consistent association: leg first, whip only if necessary. The whip never becomes the primary driving aid.
Because dressage relies on subtle communication, timing and precision are critical when using a whip. A well-timed aid should support the leg, not replace it. This is explored further in horse whip aids explained, which focuses on technique rather than force.

A well-timed whip aid can help the horse bring a hindleg further under the body.
For the inside hindleg:
Touch lightly just behind the girth on the inside. This encourages the horse to step under and around your inside leg, improving bend, balance and suppleness.
For more impulsion:
A light tap behind the leg during a transition, for example, trot to canter or walk to trot, helps the horse push more actively from behind without rushing.
The goal is a single, quiet aid that produces a soft, elastic lift of the hindquarters, not repeated tapping, which dulls the response.
If the horse becomes lazy, behind the leg or slow in the hindquarter, one well-timed touch can reactivate the gait. This should result in a more energetic trot or canter without the rider needing to push.
In shoulder-in, leg-yield, travers or renvers, the whip can:
Riders often notice that a single correct whip aid can “unlock” a stiff side by encouraging the horse to take more weight behind.
At more advanced levels, the whip may be used to encourage:
These aids must be extremely subtle, a slight tickle rather than an obvious tap, otherwise the horse tightens rather than sits.
Many engagement issues come from whip misuse rather than lack of ability in the horse.
If the horse braces, rushes or hollows when the whip is used, the aid is too strong or mistimed.
Dressage has specific regulations governing when and how a whip may be used, both in training and in competition. Referring to the current dressage whip rules helps ensure your equipment and technique remain compliant under British Dressage and FEI guidelines.
A whip aid only works correctly when the rider is:
Think of the whip as the “finishing touch” to your leg and seat, not a substitute for them.
Horses develop engagement gradually. Correct whip aids help guide the process, but training must progress in stages:
When used fairly, the whip helps the horse build strength and confidence without tension.
A dressage whip, used with good timing and feel, can help the horse engage the hindquarters, lift the back and develop balance without stress. The purpose is always clarity — not force. Combined with a correct leg, steady seat and sympathetic mindset, the whip becomes a precise tool for developing harmony and athleticism.
Dressage whips are also commonly used for work in-hand, where their length and balance serve a different purpose than when ridden. Our guide on in-hand schooling whips: how to choose and use them explains how technique and whip choice change when working from the ground.
Correct use of a dressage whip depends on far more than technique alone. Understanding how different whip types are designed, how rules affect their use, and how aids should be applied across disciplines helps keep communication clear and fair. Our horse riding whip guide brings this together, covering whip styles, correct use, sizing, and competition rules in one place.
If you’re looking to compare different dressage whips, browsing the category can help you find options that suit your discipline, hand size, and preferred balance.
