Welcome to our comprehensive guide on how to put a bridle on a horse in six easy steps. Whether you prefer visual learning or written instructions, we’ve got you covered. Our article begins with a helpful video demonstration of the process, followed by a written version accompanied by images extracted from the video. At Pink Equine, where we specialise in custom bridles, we believe it’s essential for riders to grasp the fundamentals of bridle fitting and placement. Let’s dive in and master this crucial skill together!
Firstly if you haven’t already done so, make sure your horse or pony has been groomed and the head area brushed to clear away any mud or dirt.
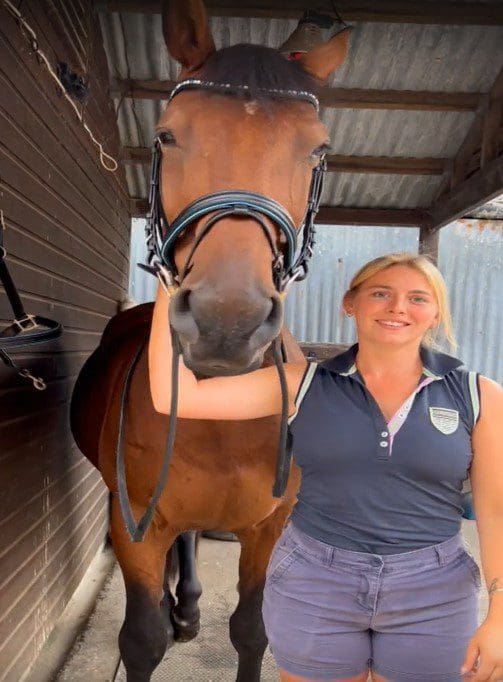
Make sure your horse is wearing a headcollar or halter and that your horse is safely tied up using a lead rope or cross ties that clip onto each side of the headcollar as you can see in the example below.

It is important that you tie any lead rope using a quick-release knot so that in the event of a problem it can be easily undone. The horse used in our example is called Flynn and he is very good at having his bridle on. Not all horses are as well-behaved as Flynn, therefore it is good practice to keep a headcollar around the neck or even the reins or a lead rope so that in the event your horse walks off, you have something to hold on to.
There are many different types of bridle. In this demonstration we are using a Pink Equine English Cavesson Flash bridle. Take your bridle and start untucking all of the keepers. It is easier if the bridle is set a little too big, as this means initially the bit won’t be too high in the mouth and the noseband not too high on the cheekbones.

Stand to the left of your horse facing forward and place the reins over the horse’s head and onto the neck area. Holding the bridle pinched together in your left hand bring the bit up to the horse’s mouth with your right hand.
When the bit is touching the lip area, insert your thumb in the space between the front and back teeth. This should encourage your horse to open its mouth and accept the bit. Hold the bridle up so that the horse can’t spit the bit back out again.

With experienced horses like Flynn, they will open their mouths as soon as they see the bit and it should be a smooth process. With novice horses, it will take a bit more practice, but you don’t want the process to be distressing, so try and keep it as smooth as possible.
Take the headpiece and gently fold your horse’s ears under the headpiece one at a time until it is sitting nicely behind the horse’s ears. Pull the forelock through and spread it out tidily. Straighten the browband.

The first thing to be adjusted is the bit. The golden rule is there should be no more than two mouth wrinkles when the bit is in the horse’s mouth. Adjust the keepers until the bit is sitting where you want it and make sure the bridle is centered and straight.

Once the bit is set it is time to buckle up the noseband strap. Ideally, the noseband should sit roughly two finger widths under the cheekbones. The noseband in the images is a crank noseband with a flash attachment. The crank noseband means that you can have the noseband a little bit tighter without causing discomfort to the horse, as there is a nice bit of padded leather under the chin.

With this type of noseband there should be at least a fingers width between the noseband and the horse. This is very horse dependent as some horses don’t like a tight noseband, whereas others prefer it a bit tighter.
Once you are happy with the noseband, it is time to move on to the throatlatch. You should be able to fit a fist between the strap and the horse’s face. Once you are happy with the fit and placement of the bridle, you may start to tuck all of the keepers in.

The final strap on this bridle is the flash. Some horses don’t need a flash, but others do and again the tightness is very dependent on the horse. Flynn the horse in the pictures, doesn’t need the flash strap very tight, just as a reminder not to open his mouth whilst he is being ridden.

It is just as important to correctly remove the bridle as it is to put it on. Simply reverse the instructions, undo all of the straps, carefully remove the headpiece bending the ears from underneath one at a time and then holding the bridle in one hand lower the bit, making sure not to bang the horse’s teeth, until it can be safely removed.
Lift the reins from the neck area over the horse’s head and completely withdraw the bridle. If you already have a headcollar around the horse’s neck this can be properly re-attached leaving the horse bridle free, but secure, ready for leading back into the field or stable.
We hope you have the video and article useful, we must say a big thank you to Charlotte Fricker our sponsored rider and her horse Flynn for the helpful video and images. Flynn is currently taking it easy after tearing a ligament, but he still loves posing for the camera!
Pink Equine sells a wide range of bespoke equestrian bridles, which can be designed to your own specifications. For more information on the fitting and measuring your bridle, read our other helpful articles in the series Different parts of a bridle, How to fit a bridle, How to put a bridle together.
We hope that you will take time to have a look at some of the beautiful horse bridles we have available. As well as our custom ranges of horse tack, we get a thrill out of writing articles such as this one, that we hope visitors will find interesting and useful. You can visit our blog to find many more helpful guides and articles, but why not join our Pink Equine club. Membership allows us to notify you of future articles and guides, as well as regular member discounts and special offers, competitions and early notification of new products. Its free to join and we promise not to cram your inbox with thousands of emails! Click here to join today.


