**  USA Customers: Enjoy up to $800 Tax Free Imports - Even with Tariffs, we're still better value than US stores! **
Whilst most bridles arrive already complete, requiring only the addition of a bit, at some point in the future, you may want to take your horse or pony bridle apart to replace a browband, change cheek pieces, measure for a replacement part, or ensure it is thoroughly cleaned.
Of course, once you have taken it apart, it is important that you know how to put a bridle back together. As manufacturers of custom horse bridles, we wanted to produce a simple step-by-step video guide showing you how to take your bridle apart and how to put a bridle together again in six easy steps.
If you prefer not to watch the video we have also produced a written guide with images below for you to follow. The instructions are for one of our own Pink Equine Horse Bridles, but the approach will be the same for the majority of different types of English bridles.
Most English horse bridles consist of seven parts, so let us run through the different parts, that go together to make up a bridle. They are the browband, the headpiece (also known as the crown piece) the throatlash, the noseband, (the one used in our example is a crank noseband with a flash attachment), next is the cheek pieces, then the reins, and of course to complete the bridle, the bit.
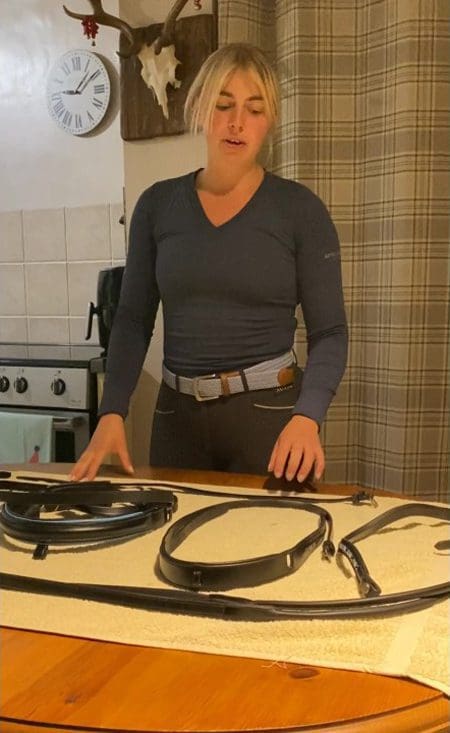
The head piece or crown piece is the part that sits over the top of the horse’s head and includes three leather straps on each side, one for the throat latch, one for the cheek pieces, and one for the noseband.
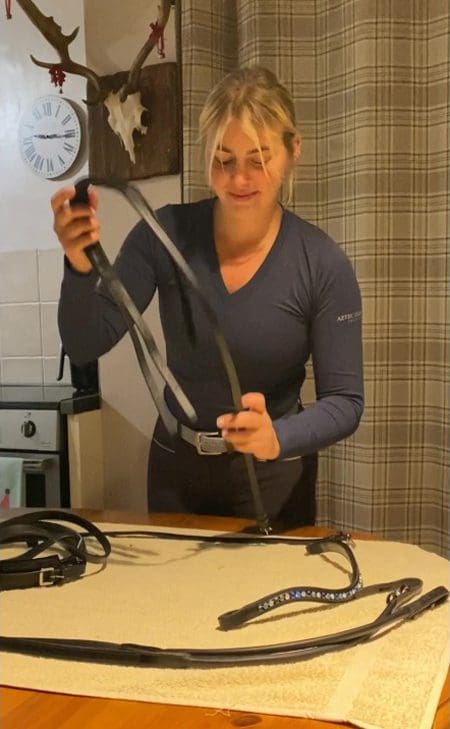
Some headpieces already have the throat latch attached and some are separate. The throat latch is attached to the rearmost split strap.
The second step is to attach the browband. Some browbands have a right side up, indicated by a logo or makers button. With a curved or wave browband, it is a bit easier to make sure you put it on the right way up.
Take the headpiece and slide one side of all the straps through the browband loop so the browband sits just above the strap split. Do the same with the other side. Straighten the browband so that it sits squarely on the headpiece.
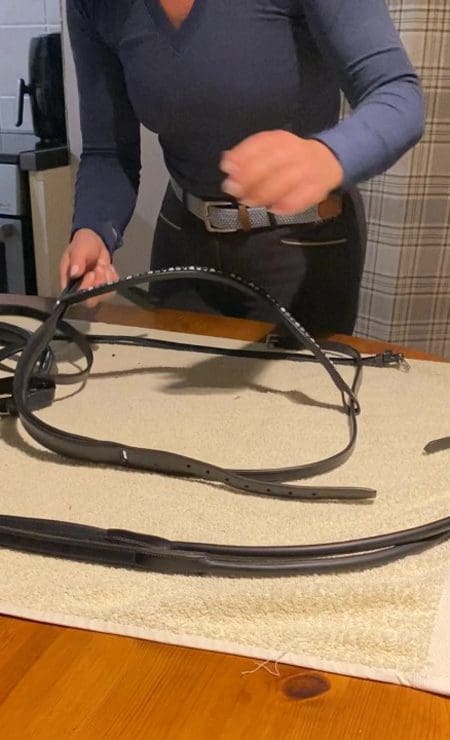
With a new browband and bridle, the task can be a bit tight, to begin with, but with a bit of use and correct leather care, the leather will soften and the process will become easier.
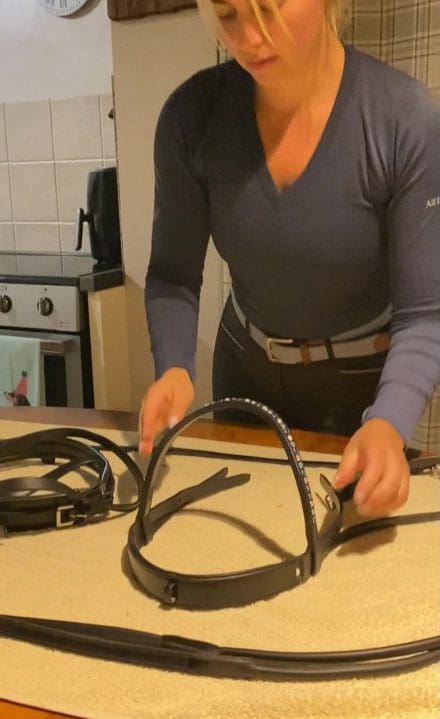
The third step is attaching the nose band. The noseband in the example is called a noseband with slip. Start by pushing the strap through the browband and it will pop up through the slit in the headpiece. This can be quite tight, but that is a good thing as you want your noseband to be secure around the headpiece.
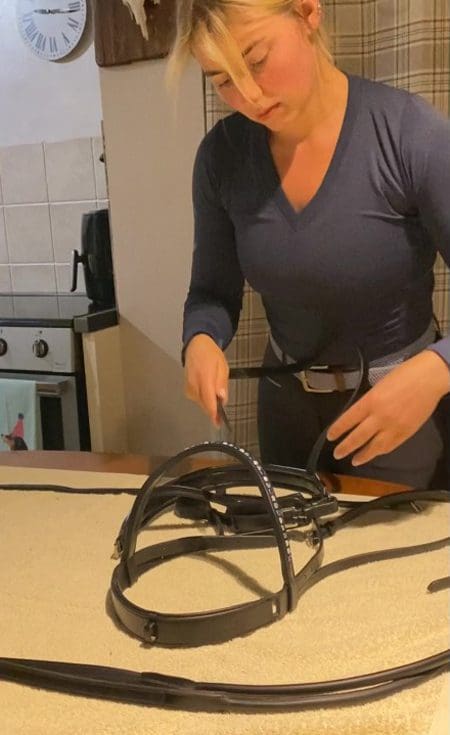
Push the strap through the leather loop on top, keeping it neat and tidy and all in place. Bring the strap down through the slit on the other side and through the other browband loop.
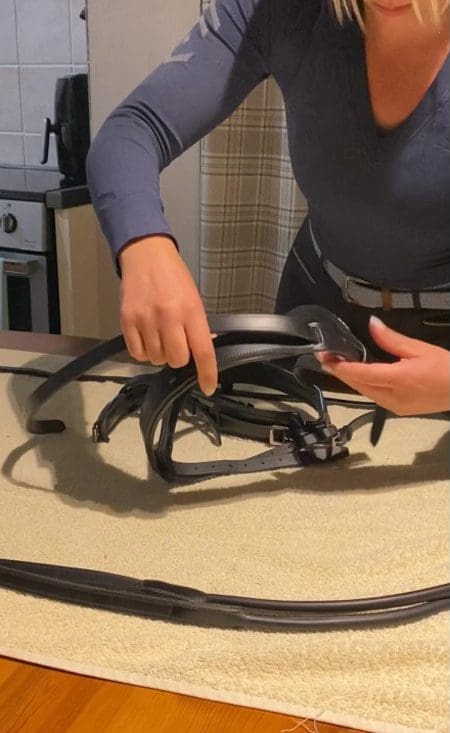
On the other side of the noseband, you can then attach the buckle. If your horse has already worn the bridle, there will be wear marks where the correct hole settings should be. However, if it is a new bridle and you haven’t yet fitted it to your horse or pony, you can leave everything a bit looser (we recommend using the middle holes, remembering to use the same numbered hole on either side so that the noseband is balanced).
The fourth step in the process is to attach the cheek pieces. There are two of these one on either side and they are used to hold the bit. Holding the headpiece with the browband at the front, locate the front most strap from the two split straps. This is the cheekpiece strap.
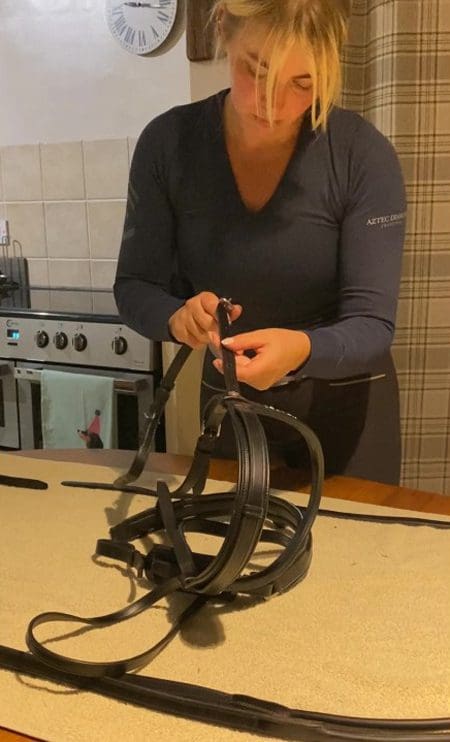
If you have already used the bridle there should be wear marks, where the buckles were fastened. If you are unsure where they fit it is best to start off by attaching them to the middle hole. Do up the buckles and pull the ends through the keepers. Ensure the buckles/keepers face outwards.
Do a check to make sure you are happy with your bridle and everything looks even.
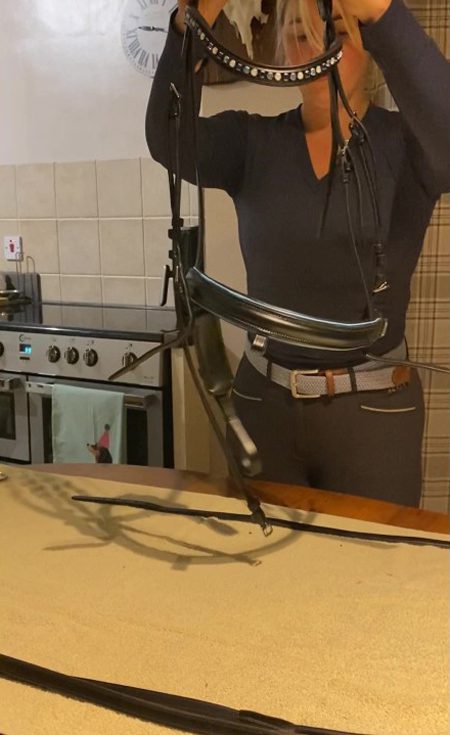
Step 5 is time to attach the bit. There are many different types of bit, depending on what your horse or pony is used to and the amount of control you need.
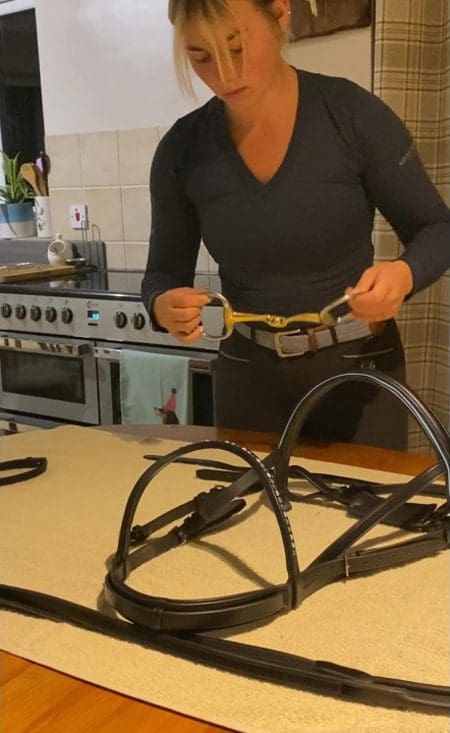
We are going to be fitting a normal eggbutt bit with a central lozenge. Your bit will have a slight curve on one side. When attaching your bit to the cheek pieces, make sure that the curve is forward. Fit the end of each cheek piece through the D ring of the bit. This bridle has buckles to attach the bit and buckles face outwards. Some bridles use billets or hook buckles and these should face inwards.
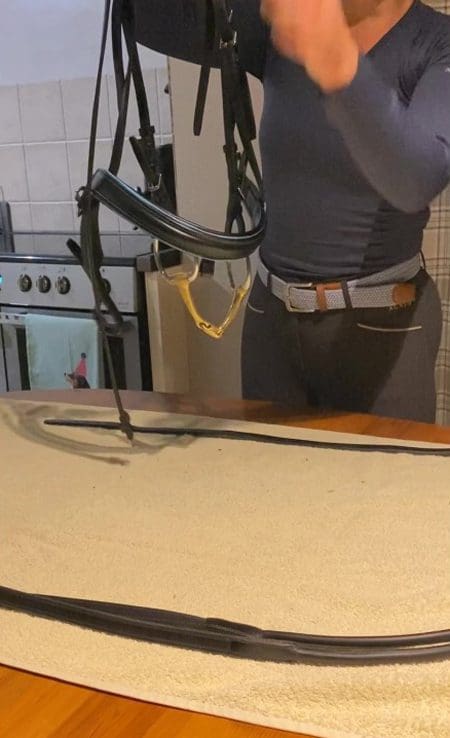
If not already attached now you can attach the throatlatch on the left-hand side.
Your bridle is almost complete. Once the bit has been attached, the 6th and final step is to fasten the reins. The reins in our example have billets and these face inwards. Attach the reins to either side of the Eggbutt bit D rings.
Hold the bridle and reins up and once you are happy with the symmetry you can tuck all the keepers in. As discussed if this is a new bridle, and you haven’t put the bridle on a horse or pony before, don’t worry about tucking the keepers in until you are happy with the fit.
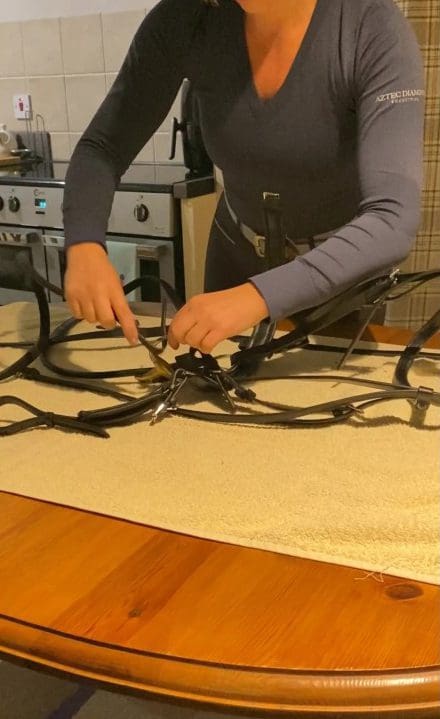
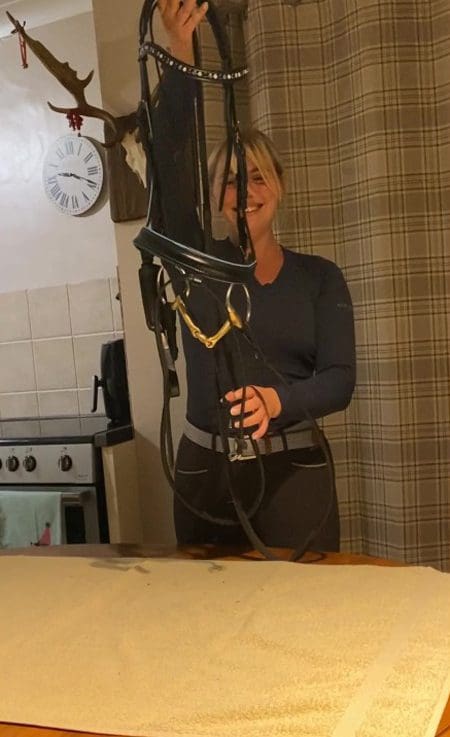
If you have followed the steps correctly, your bridle should now be complete and waiting to fit your horse or pony, ready to go riding. A big thank you to our Brand Ambassador Charlotte Fricker for making the video and assistance with the article.
Since our inception in 2007, Pink Equine has established itself as an innovator in custom horse bridle design. Whilst our unique patterns enable you the rider to coordinate your horse tack, we believe that first and foremost, horse tack should function correctly and be made from the best materials, to ensure maximum comfort for the horse.
We love horses but also admire quality and style and this is the ethos behind our designs, from our sport interchange colour piped bridle to our patent dressage double bridle, all have been designed and manufactured with the same care and attention to detail.
Whilst you are visiting, we hope that you will take time to have a look at some of the beautiful horse bridles we have available. As well as our custom ranges of horse tack, we love writing articles such as this one, that we hope visitors will find interesting and useful. You can visit our blog to find many more helpful guides and articles, but why not join our Pink Equine club. Membership allows us to notify you of future articles and guides, as well as regular member discounts and special offers, competitions and early notification of new products. Its free to join and we promise not to cram your inbox with thousands of emails! Click here to join today.