Size Guides
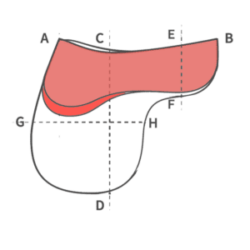
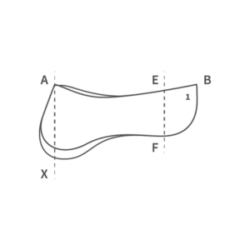
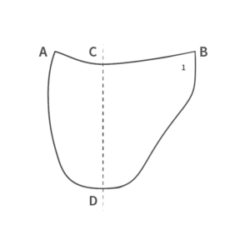
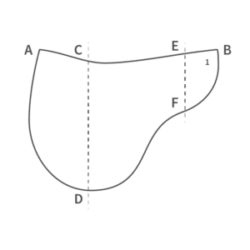
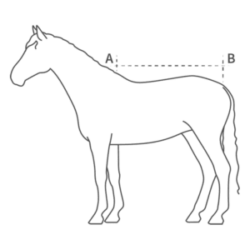
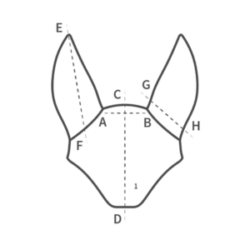
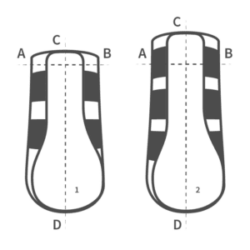
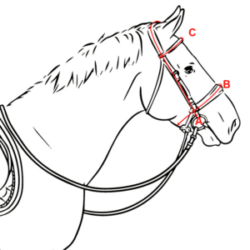
Pink Equine Horse Tack Charts provide help and advice on how to measure individual pieces of horse tack and how they compare with our own size guides, to ensure that any horse tack you order from us fits your horse perfectly.
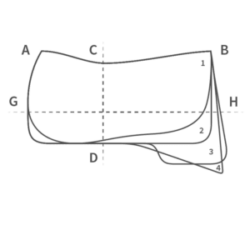
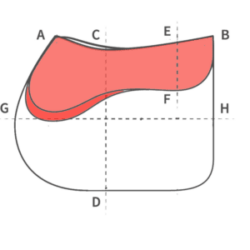
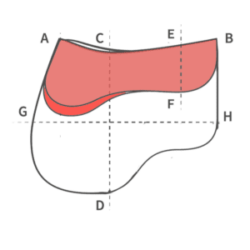
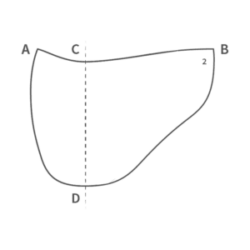
The Horse Tack Size Guides are split into Brands, Mattes, Pink Equine and HKM. Choose the product and click on the image to see what measurements are required and how they compare with your existing horse tack.
If you have any questions regarding measurements or the fit of horse tack, then please do not hesitate to get in touch via email, telephone, online chat, or using the contact us form and we will be happy to discuss your requirements with you.
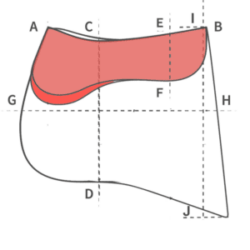
The Baroque-style saddle pad takes it's inspiration from Spanish-style saddle pads, but has been designed to fit English Saddles, available

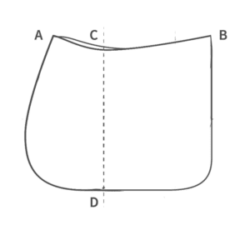
Use our Mattes Numnah Saddle pad sizing Guide to help you determine the correct size numnah for your horse. Mattes

To determine the correct size of Mattes half pad that you should be using for your horse or pony, use

To determine the correct size of Mattes Endurance saddle pad that you should be using for your horse or pony,

To determine the correct size of Mattes Treeless saddle pad that you should be using for your horse or pony,

Mattes Western saddle pads are technically brilliant, visually stunning and most importantly extremely comfortable for your horse or pony. Mattes

Mattes Square saddle pads combine technical brilliance with visually stunning design, ensuring utmost comfort for your horse or pony. Mattes

To determine the correct size of Mattes Trekking Saddle pads that you should be using for your horse or pony,

Mattes Eurofit saddle pads excel in technical brilliance, boast visually stunning designs, and, most importantly, offer exceptional comfort for your

To determine the correct size of Mattes Western Endurance saddle pad that you should be using for your horse or

Mattes Western Horse Girths have been carefully designed to fit all shapes and sizes of horses. No matter what the

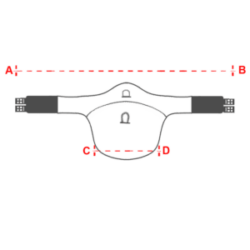
Introducing our range of short girths and western cinches. Use the short girth measurement chart below to make sure you

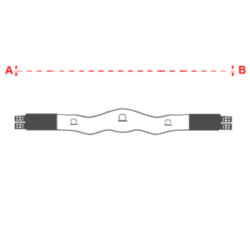
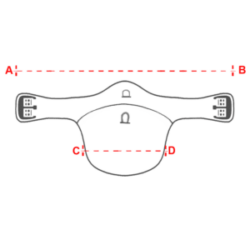
Introducing our range of long horse girths. Use the horse girth size chart below to make sure you order the

Not All Girths are made equal! We often hear a familiar story. Someone buys the newest and trendiest girth, only

Mattes Exercise Sheet, is versatile and can be used in variety of situations, after a workout, during transportation, or as

Handcrafted from 100% Egyptian Cotton, Mattes Custom Fly Bonnets are intricately crocheted. These bonnets, tailored to fit your horse's ears,

Mattes Custom Dressage Boots with Detachable Sheepskin Linings, carefully designed in conjunction with the famous German Dressage Rider and Trainer

Pink Equine Diamond Bridles are available with a straight or Wave diamond encrusted browband in black, brown or tan leather

Pink Equine Sport Bridles are available with a straight browband in black, brown or tan padded leather, with your choice

Pink Equine Tyffany Bridles are available with a straight or wave style browband that are inset with large genuine Swarovski

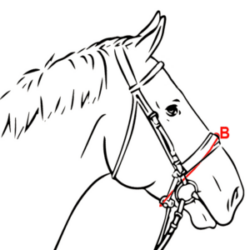
Pink Equine has a range of sport nosebands that can be ordered on their own to jazz up an old

HKM Saddle pads are very well made and great fun, with a wide range of colours and trims to suit

For those that want something fun and off the shelf, we have a range of Lauria Garrelli horse bonnets by

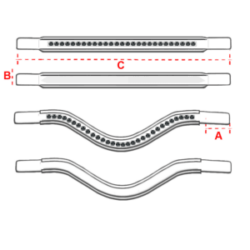
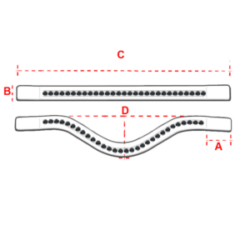
Use our Diamond Horse Browband sizes guide to help you determine the correct size browband for your horse or pony.

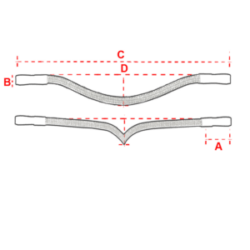
Use the Pink Equine Sport horse Browband Size Guide to help you determine the correct size browband for your horse

Use our Tyffany Browband sizes guide to help you determine the correct size browband for your horse or pony. Explore

Discover a selection of jumping girths from Mattes and Pink Equine. Choose from four styles in Black, Brown, Tan, and

Explore Pink Equine's selection of personalized leather ergonomic girths. Opt for Black, Brown, or Tan leather with over 30 choices

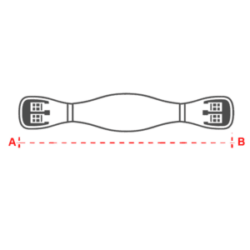
Most dressage saddles require a shorter girth as they are made with longer billet straps preferred by dressage riders as

Protect your horse's underbelly when jumping with a Close Contact Stud girth. Use the Stud Girth size guide below as

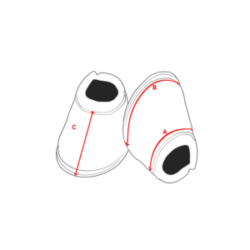
Protect your horse from over reaching with a pair of Pink Equine's bell boots. What makes our bell boots unique

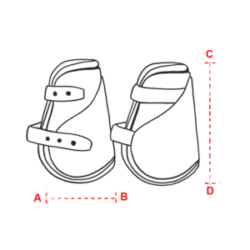
Horse Fetlock Boots are essential protective gear, designed to safeguard the lower limbs from injuries caused by the horse’s legs

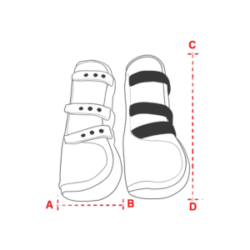
Horse Tendon Boots are essential protective gear, designed to safeguard the lower limbs from injuries caused by the horse’s legs

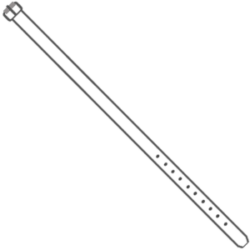
Pink Equine's fantastic range of horse stirrup leathers, with the unique coloured stitching. To find out how to measure stirrup

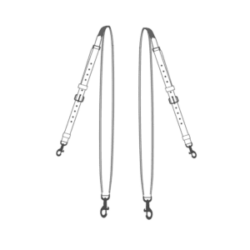
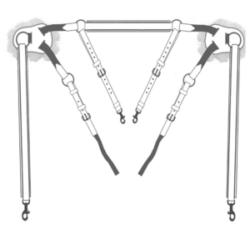
Pink Equine's custom Horse Breastplates and Martingales have gained immense popularity, thanks to the incorporation of top-notch materials and the

Pink Equine's range of custom Horse Breastplates and Martingales are extremely popular, due to the use of quality materials and

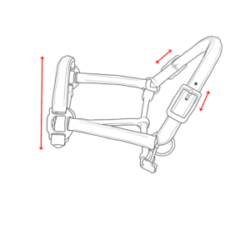
Pink Equine introduces two stylish collections of leather horse headcollars. The first features headcollars embellished with dazzling diamond-cut crystal stones.

Pink Equine's range of luxury custom dog collars have been designed with either 4 or 8 rows of top quality

HKM Saddle pads are very well made and great fun, with a wide range of colours and trims to suit

For those that want something fun and off the shelf, we have a range of Lauria Garrelli horse bonnets by
 USA Customers: Enjoy up to $800 Tax Free Imports - Even with Tariffs, we're still better value than US stores! **
